It uses a L239D chip to drive two DC motors and modulate their speed individually. The board can be controlled with only two input wires. This is made possible through an interface program loaded in the ATMEGA238 (same as Arduino UNO) onboard chip. The interface chip and the driver chip are running on two separate power circuits and both are in sockets and can be easily replaced or, in the case of the ATMEGA238 chip, reprogrammed.
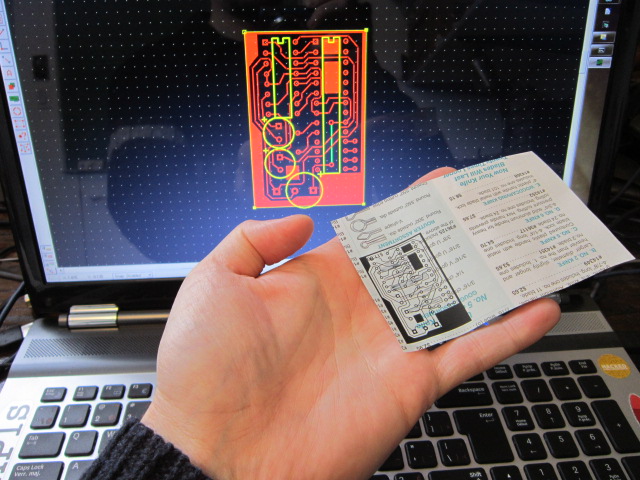
Using the ATMEGA238 chip makes this motor driver very versatile since 10 pins (5 digital and 5 analog) are still available for inputs/outputs. This driver can then be reprogrammed and customized rapidly. Here is the etching pattern I made using ExpressPCB:

Finally here's the part list:
- 1x - Small copper clad laminate board
- 1x - 16 pins socket
- 1x - 28 pins socket
- 2x - 0.1uf capacitor
- 1x - 16MHz crystal
- 2x - 6 pins female headers
- 2x - PNP transistors
- 2x - Inputs Screw Terminal 3.5mm (2 pins)
- 2x - Inputs Screw Terminal 5mm (3 pins)
- 1x - L293D (or SN754410)
- 1x - ATMEGA238P-PU
- Some wires
- (optional) 1x - Heatsink for the L293D
I'll put up a Instructables ASAP with the PCB layout file. Until then I can send it to you if you contact me directly.