Mar 2, 2013

Adventure Time Sword


My son was invited to the birthday party of one of his friend.  His friend mentioned to him that he liked   the Adventure Time cartoon and would like to have the sword.  My son then told him that we could probably make it because we are always building stuff.


We looked it up on the web and since it's a simple shape I decided to give it a shot.  Using the hard wood from an old shelf we took down, I drew the rough dimensions on it


I then cut the rough shape using a skill saw and a jig saw


The guard was build with 2 pieces with grooves screwed and glued on both sides


This was the fun part where I sculpted all the notches and scratches followed by some sanding


It was then time for primer and painting.  The handle was done by hand using acrylic paint


This the final product after gold metallic paint and a clear acrylic coat.  The jewel was made with Super Sculpey and also painted using acrylic paint.
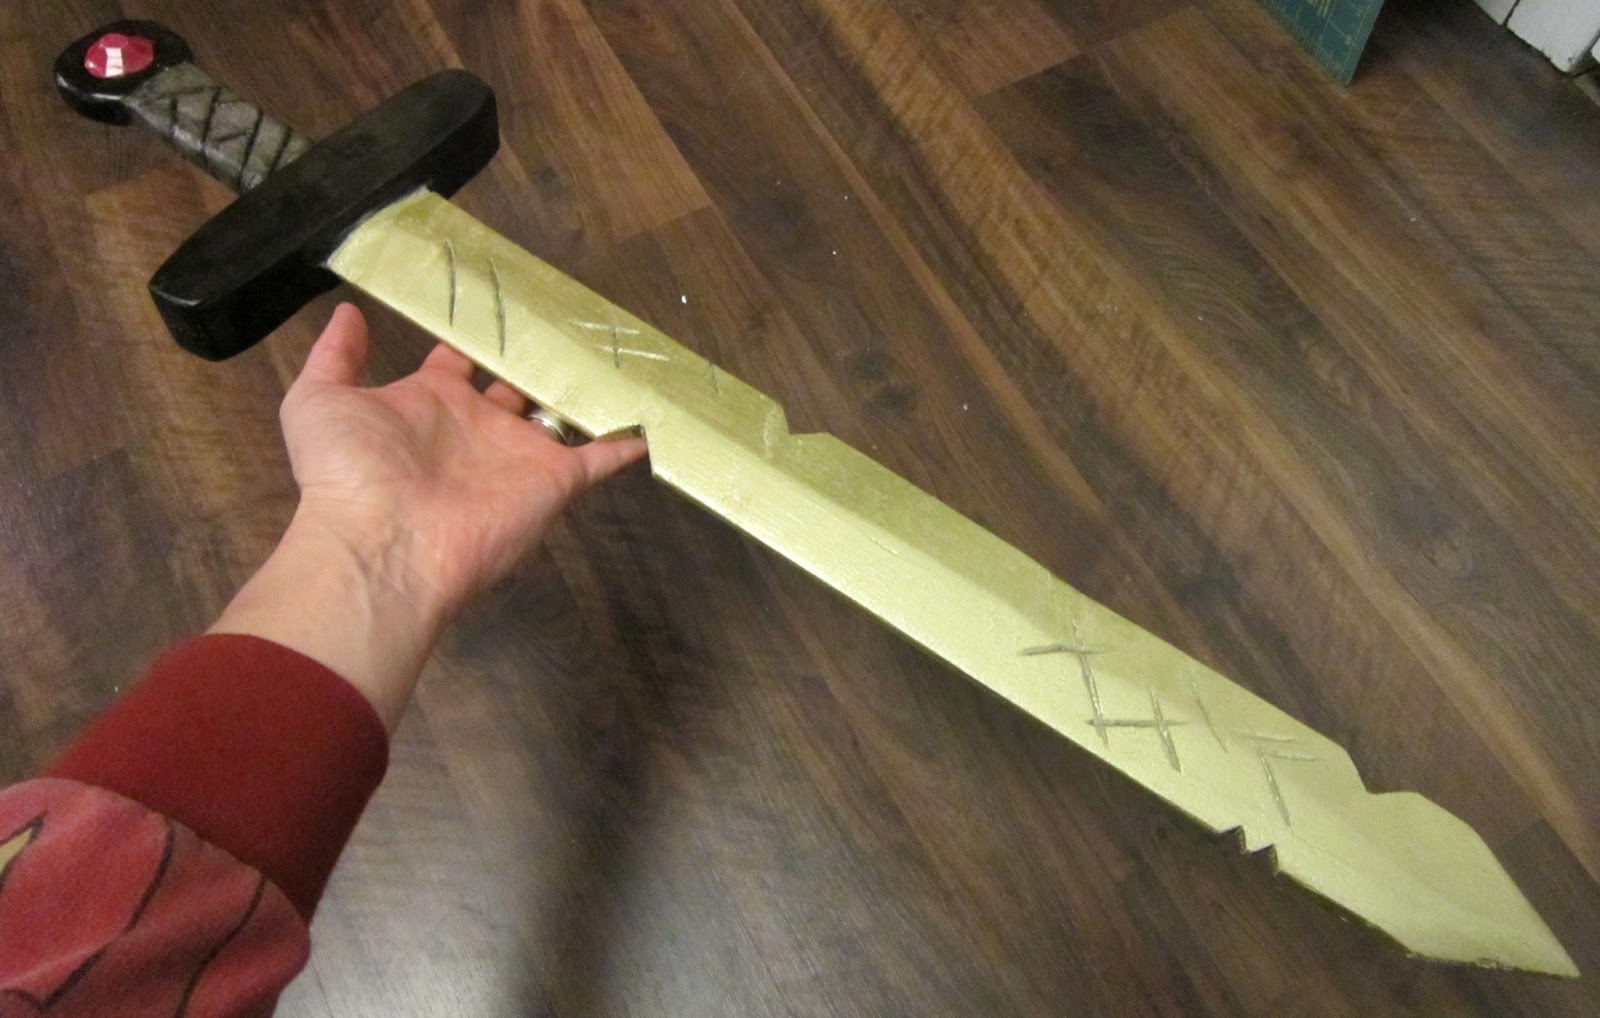


Action shot with my son


Feb 28, 2013

LEGO's magic number is 37,112

Have you ever asked yourself this question: "How many times can I assemble LEGO bricks before they wear out?"

Well... probably never but I did (on LEGO SE).  The story would end there if didn't had the knack to build a machine to test it.  Here it is:


The first version was using a metal tube attaching the top servo to the LEGO brick.  It was too flimsy and died during initial testing.  So I took an old CPU heat sink...


And using my trusty angle cutter, I made this new arm:


A successful test proved that the LEGO was no match for this chunk of aluminium.  I then made an infra-red proximity sensor to detect if the presence of the LEGO and rigged the whole thing to an Arduino.  This was shot before the test started:


and this was shot about two thirds into the testing that lasted a whopping 10 days!!!


So here are the 2 dead LEGO bricks after 10 days and 37,112 assembling and disassembling.


Don't try this at home. It's long, noisy and cruel to LEGO bricks.

In the end, both pieces failed at 50%. The studs of the bottom brick and the inside walls of the top brick are visibly worn. Both bricks can still hold on (not strongly) to normal bricks but, when put together, they can't hold. In a way, you could say that they are still in working conditions as long as they don't meet again.

Here are some more answers:


This story was covered in the follow media:

Jan 21, 2013

DIY desk


This is our homemade studio desk.


It's a large U-shaped desk built of plywood that is laminated with a nice wood layer. The desk (including an integrated back-shelf) is built onto the walls and has no front legs with the exception of the two end corners. This gives us more freedom of movement. We stained the desk a dark brown color to match the wood floor.

The desk also includes built-in electrical sockets, place for the printer and paper and a ventilation slit over the heater.

Jan 6, 2013

RoboTank #3 / motor driver version 2

Here is the second version of the programmable motor driver.


It uses a L239D chip to drive two DC motors and modulate their speed individually.   The board can be controlled with only two input wires.  This is made possible through an interface program loaded in the ATMEGA238 (same as Arduino UNO) onboard chip.  The interface chip and the driver chip are running on two separate power circuits and both are in sockets and can be easily replaced or, in the case of the ATMEGA238 chip, reprogrammed.

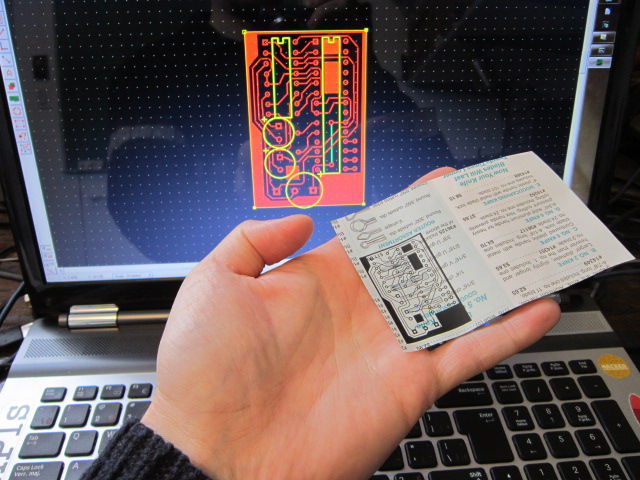
Using the ATMEGA238 chip makes this motor driver very versatile since 10 pins (5 digital and 5 analog) are still available for inputs/outputs.  This driver can then be reprogrammed and customized rapidly.  Here is the etching pattern I made using ExpressPCB:


Finally here's the part list:

  • 1x - Small copper clad laminate board
  • 1x - 16 pins socket
  • 1x - 28 pins socket
  • 2x - 0.1uf capacitor
  • 1x - 16MHz crystal
  • 2x - 6 pins female headers
  • 2x - PNP transistors
  • 2x - Inputs Screw Terminal 3.5mm (2 pins)
  • 2x - Inputs Screw Terminal 5mm (3 pins)
  • 1x - L293D (or SN754410)
  • 1x - ATMEGA238P-PU
  • Some wires
  • (optional) 1x - Heatsink for the L293D
I'll put up a Instructables ASAP with the PCB layout file.  Until then I can send it to you if you contact me directly.

Jan 4, 2013

RoboTank #2 / homemade PCB

This was my first attempt at making a PCB at home.  I follow this awesome tutorial explaining how to make PCB using a laser printer.  The first step was to design the board.  For this I used ExpressPCB free software.  Then I printed the design on a magazine paper.


The next step (which took me 3 tries) was to transfer the design to the copper plate using an iron.  This was a big learning experience about the necessary spacing between the traces and the amount of time to apply the iron.  In the end I got something that was good enough to go to the next step.


As suggested, I corrected the mistakes using a Sharpie pen.  After a Ferric Chloride bath here is the result:


I used a sponge to rub the surface during the etching.  Apparently the Sharpie fix is not meant to survive that kind of abuse.  This is still fixable.  The final step was to drill the through holes and do the assembly.